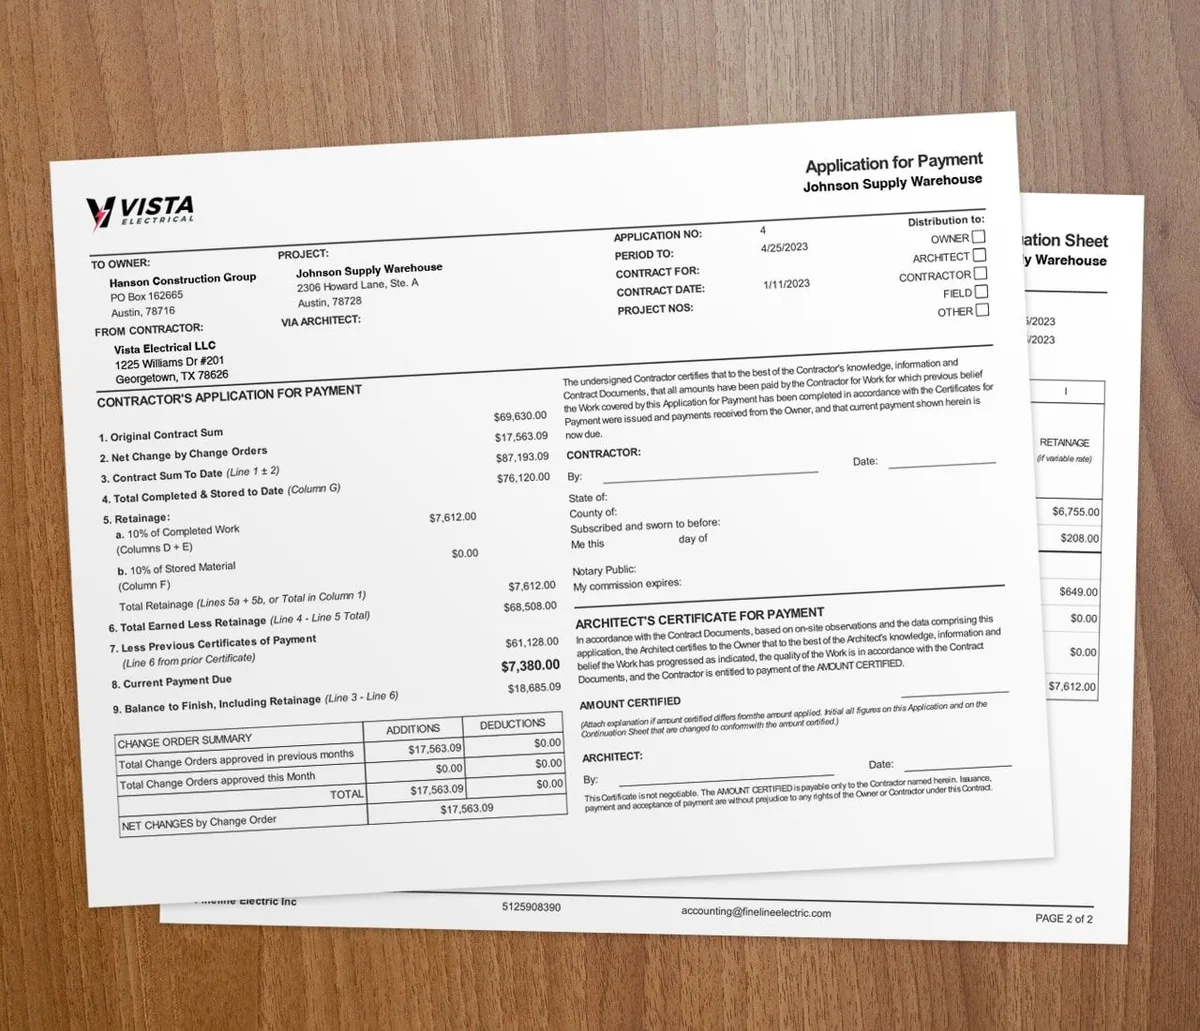

Your digital estimate is often a homeowner's first real look at how you run your business. A clean, itemized, accurate quote wins jobs and sets clear expectations. These seven tips help yours close more often.
Homeowners gather a few bids and compare. The contractor with the polished, detailed estimate usually gets the call. A quote scrawled on a notepad rarely beats one built in software.
Why go digital with roofing estimates?
Paper estimates are now a competitive weakness. A homeowner with three bids leans toward the one that looks clean and clear. Digital estimates give you real advantages:
- Speed: Build detailed estimates in minutes, not hours.
- Accuracy: Automated math kills calculation errors.
- Professional look: Branded, formatted quotes signal a well-run shop.
- Convenience: Send by email and see when the client opens it.
- Data: Every estimate sharpens your future pricing.
For the full step-by-step on building the number, see our guide to roof estimating 101 or our roofing contractor software overview.
Seven tips for better roofing estimates
1. Inspect the roof thoroughly
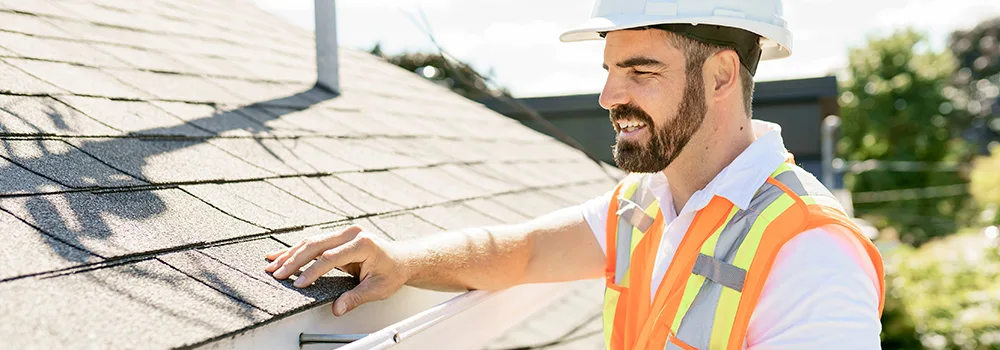
The estimate is only as good as the inspection behind it. Before you price anything:
- Measure every plane, valley, ridge, and penetration.
- Check existing materials, decking, and ventilation.
- Note structural issues, water damage, or code concerns.
- Photograph everything to support your pricing.
Use mobile time tracking tools to log inspection time so you know the true cost of your sales process.
2. Itemize everything
Homeowners want to see where the money goes. Break the estimate into clear line items:
- Tear-off and disposal of old materials
- Decking repair or replacement
- Underlayment type and quantity
- Roofing materials with specific products named
- Flashing at penetrations, valleys, and edges
- Ventilation components
- Labor for install
- Cleanup and haul-away
- Warranty details
Itemizing helps clients understand the price and compare your bid fairly. For the broader method, read how to create accurate construction estimates.
3. Offer good-better-best options
Where it fits, give three tiers. For example, three shingle grades at three price points. This moves the choice to which tier, not which contractor. Most clients pick the middle option, which usually holds a healthy margin.
4. Account for every cost
Do not forget the indirect costs that quietly eat margin:
- Permit and inspection fees
- Dumpster rental and disposal
- Equipment rental like lifts and scaffolding
- Travel time to far job sites
- Overhead allocation
- Profit margin
For help setting that margin, read markup vs margin, or run your numbers through our free markup vs margin calculator. Reviewing actual costs from past roofing jobs helps you catch every category.
5. Use photos and visuals
Add inspection photos to the estimate. Mark up images to show problem areas. If you propose different materials, include manufacturer images of colors and profiles. Visuals help clients trust your assessment.
6. Make it easy to say yes
Spell out the next steps: how to accept, the deposit amount, the start date, and the project length. Add payment processing so clients can pay the deposit online the moment they accept.
7. Follow up systematically
Track which estimates are pending and follow up on a schedule. Tools that show when a client viewed your estimate help you time the call for the best shot at a yes.
How estimates connect to the job
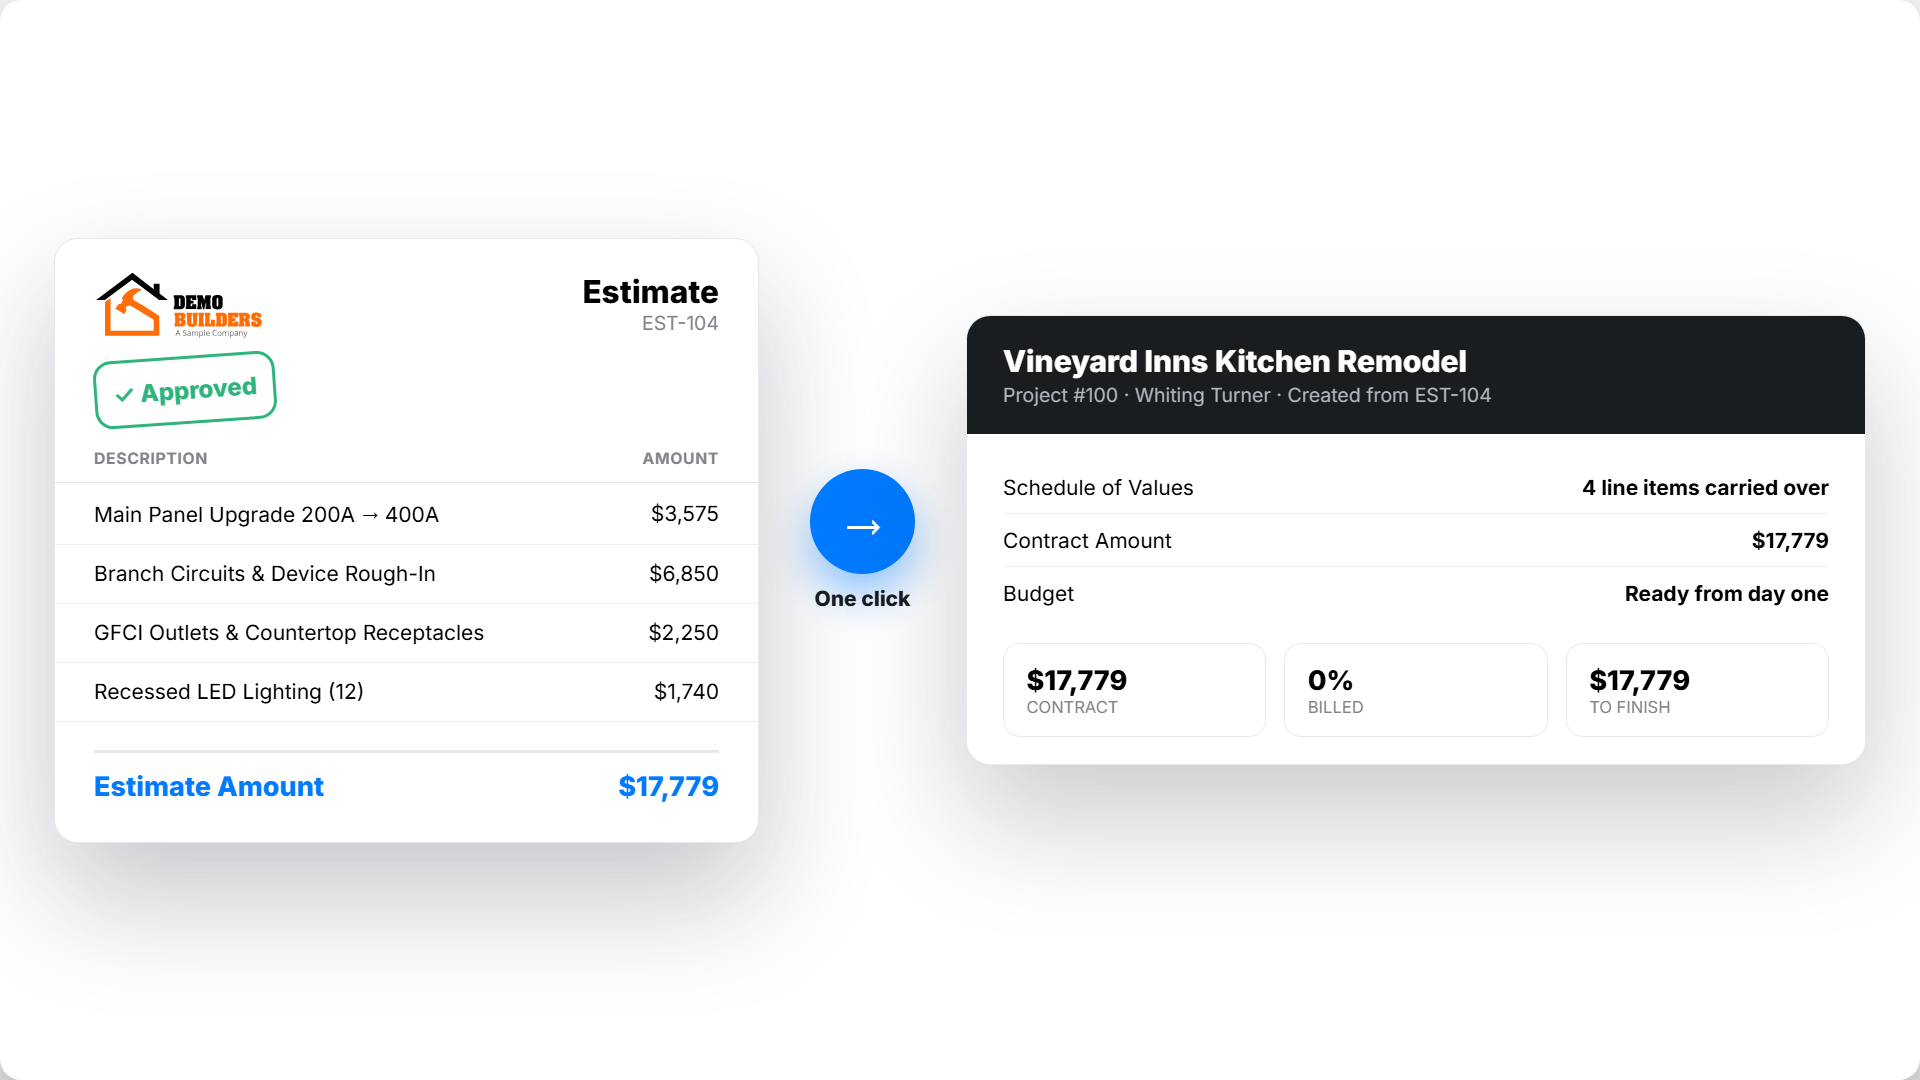
A great estimate does more than win the job. When accepted, it becomes the baseline for AIA-style billing or progress invoicing. You track real costs against the original number all the way through.
That link between estimate and execution is where QuickBooks integration adds value. Your bid, your billing, and your books all match.
When should you present multiple options?
Offer tiers when the homeowner is weighing quality against budget. Three clear choices keep the decision with you instead of sending them to compare your single price against rivals.
Skip the tiers on a simple repair or an insurance job with a set scope. One clean, itemized number is enough there. Match the format to the buyer.
Key takeaways
- A clean, itemized digital estimate is often a homeowner's first impression of your shop.
- Inspect and measure thoroughly, then itemize every line so clients see the value.
- Offer good-better-best tiers and account for indirect costs like permits and overhead.
- Make acceptance easy with clear next steps and online deposits, then follow up on schedule.
- Contractor software like Werx links the estimate to billing and your books.